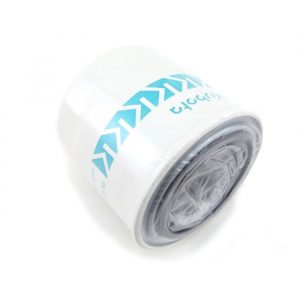
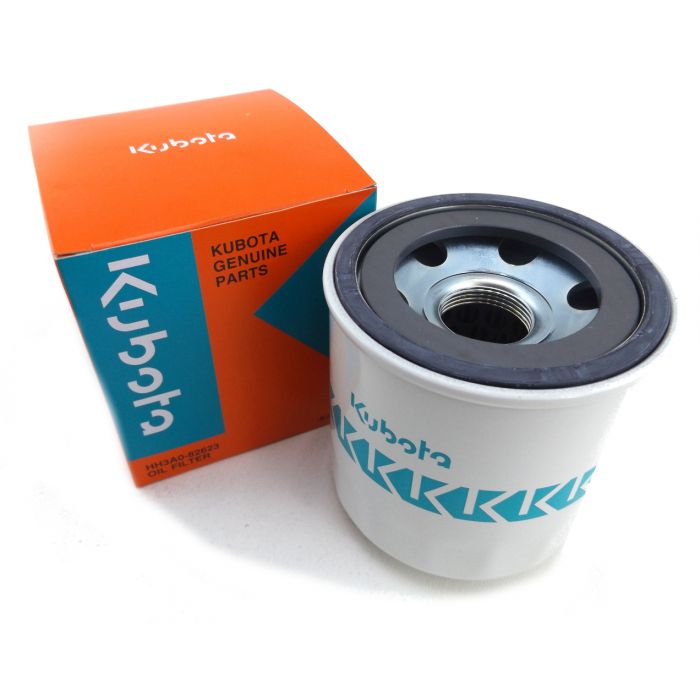
Just as with oil or air filters, hydraulic filters are essential to assure that no damaging particles get into the hydraulic system of a tractor.
Kubota offers hydraulic filters. Their filters are designed to remove harmful contaminants from hydraulic systems. This helps to protect sensitive valves and hydrostatic transmission components.
The Kubota hydraulic filter features:
• A special oil inlet configuration that reduces pressure loss and assists the functioning and performance of the HST.
• A deep drawn one piece steel shell that offers more strength and fatigue resistance.
• A sealing gasket compound for severe service and high temperature operation, reduced oil leakage due to hardening.
• High efficiency. Low restriction filtration media for flow operation
Replacing the hydraulic fluid and filters for a Kubota L-Series 3301 and 3901 tractors involves four stages:
1. Draining the old hydraulic fluid
2. Replacing the hydraulic oil filter
3. Replacing the transmission oil filter
4. Adding new hydraulic fluid
Draining The Old Hydraulic Fluid
Tools you’ll need to perform this stage of the task include:
• Oil filter wrench
• Oil drain pan
• 14mm wrench
• 22mm wrench
1. Gain access to the differential of the Kubota tractor.
2. Locate the four oil drain plugs on the differential.
3. Place the drain panel under the first drain plug.
4. Place folded cardboard between the drain plug and the oil pan to serve as a guide so that oil pours into the oil pan and not your garage floor.
5. Remove the drain plug by hand and adjust the oil pan as necessary so that it catches the oil.
6. Allow the oil to drain into the oil pan until it becomes a drip.
7. Replace drain plug.
8. Repeat steps 3 through 7 with the remaining drain plugs.
Replacing The Hydraulic Oil Filter
The Kubota owner’s manual for the L-Series 3301 and 3909 tractors urge that you replace the first filter after 50 hours of tractor use and then every 400 hours after that.
Items you’ll need to complete this stage includes:
• Oil filter wrench
• Oil pan
• Kubota filter suggested by the owner’s manual
• Rag or paper towel

You may need more tools when removing the filter for the first time. When Kubota manufactures the tractor it’s possible that the filter is placed prior to the painting of the vehicle. When it comes time to replace the filter the paint acts like an adhesive and may trap the filter in the mount. If you have difficulty removing the filter due to this, then include with your tools a pry bar, a mallet, a utility knife, and a can of WD-40
Steps required to remove the hydraulic oil filter include:
1. Gain access to the hydraulic oil filter.
2. Use the rag or paper towel to clean the exterior of the filter as well as the filter mount.
3. Place the oil pan under the filter.
4. Use the oil filter wrench to remove the filter. If the wrench doesn’t work…
5. Use a different style oil filter wrench to remove the filter. If this doesn’t work …
6. Keep the wrench attached to the filter and hit its handle with the mallet. If this doesn’t work …
7. Use the pry bar. If this doesn’t work …
8. Use the utility knife to cut the paint around the seam between the filter and the filter mount.
9. Spray the area with the WD-40
10. Check to see if the filter comes loose. If it does …
11. Use the oil wrench to complete the removal of the filter.
12. Clean the area occupied by the filter with the rag or paper towel.
13. The old oil filter includes a magnetic filter ring. Its purpose is to prevent metal shavings from entering the filter. Remove from the filter in case the new filter does not have a magnetic filter ring.
14. Check the new filter to see if it has the magnetic filter ring. It probably is equipped with the ring.
15. Use your index finger to get a little fluid from the container and spread it on the gasket of the new filter.
16. Screw the new filter into the mount until it contacts the bottom of the mount.
17. Tighten the filter by hand another half turn to secure it into the mount.
Replacing The Transmission Oil Filter
Replacement for the first time of the transmission oil filter should occur after 50 hours of tractor use time and then every 200 hours after that.
The items you’ll need for this stage include:
• Oil filter wrench
• Oil pan
• Rag or paper towel
• Kubota new transmission oil filter HHK70-14070
Steps for replacing the transmission oil filter include:
1. Clean the exterior of the filter and the mount with the rag or paper towel.
2. Place the oil pan under the filter.
3. Use the oil filter wrench to loosen the old filter.
4. Once loosened, screw off the filter by hand.
5. Use the rag or paper towel to clean dirt from the filter mount.
6. Use your index finger to get a little transmission oil and then spread it along the rubber seal of the filter.
7. Screw filter into the mount by hand until it contacts the bottom of the mount.
8. Tighten with one more turn after first contact.
Adding New Hydraulic Fluid
The items you’ll need for this task include:
• Funnel
• Rag or paper towel
• Kubota UDT-2 hydraulic fluid
The number of gallons you’ll need depends on the model of the Kubota tractor and the type of transmission. For the L-Series 3301 and 3901 Kubota tractors, you’ll need 6.2 gallons.
Steps for adding the new hydraulic fluid include:
1. Remove cover over the hydraulic system.
2. Remove the top frame to gain better access to the hydraulic system.
3. Remove the fill cap.
4. Place the funnel into the hole and pour in about 6 gallons of hydraulic fluid.
5. Check the dipstick to see how much oil has been added. If close to 6 gallons …
6. Start the engine to circulate the oil through the hydraulic system.
7. Let engine run for a few minutes.
8. Turn off engine.
9. Check the dipstick to determine how much more oil is needed.
10. Add a little more oil if needed.
11. Check the dipstick again to assure that there is enough oil present in the system.
12. Re-place the frame above the hydraulic system and re-place the cover.
(Sources: kubotausa.com and youtube.com)

